
Contribute Signage.
Let's Get Started
Let's Get Started!
Connecting the Hardware
Step 1 POWER - Once you have unpackaged your Contribute Signage Player, you need to firstly connect it to a power outlet.
Step 2 HDMI - Next, you need to connect the Signage Player to your TV or Monitor with a HDMI Cable. One end of the HDMI Cable should be in the Signage Box, and the other in your TV or monitor.
Step 3 INTERNET - Next, you need to either connect your Contribute Hardware Player with an Ethernet Cable to your router or network, or you need to connect the signage player to your WIFI.
Android Player - {using the remote control as a mouse or plug in a keyboard and mouse (not included) you need to minimize the Contribute Signage App by clicking in the upper right corner on the "Minimize" button. Click on Settings, Then Network. Make sure WIFI is switched on, then select your wireless network as it appears. Enter your password for your wifi network.) Check that you are connected. Then, navigate back to the Contribute Signage App.
Windows Player - Plug in a keyboard and mouse (not included) you need to minimize the Contribute Signage App by clicking in the upper right corner on the "Minimize" button.
Ethernet - Plug in the RJ45 network cable from your router/connection port into the Digital Signage Player. (recommended)
WIFI - From the system tray (by the clock) click on the WIFI icon that will be showing as disconnected. Select your wireless network and then enter your wireless password.
Creating Your Account
If you haven't already got an account on www.contributesignage.com, you need to register yourself and account.
Step 1 - Navigate to http://www.contributesignage.com and select "Login" then select "Register for New Membership"
Step 2 - Complete the form and then sign in with the details you have just chosen.
Step 3 - Activate your license key. You will have received an email from us with your license key.
From the menu, choose "Account Settings", then "License" enter your license key in the box and then press "Submit" - Please note you will need to log back in.
Add Your Playback Device to your Account
Step 1 If not already done so, you need to download and install one of our Playback Apps from the main menu in your Contribute Signage Account Dashboard. Once installed and connected to the Internet, and you have added your ZIP code, it should look something like this.
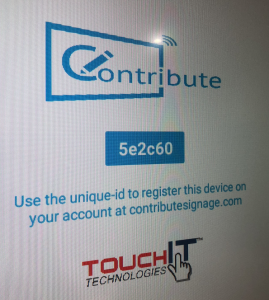
Step 2 - In your Dashboard at www.contributesignage.com - once you have logged in enter the ID number into the form that looks like this

Enter the ID number and click "GO" When registered correctly, you will see the device display underneath in the table.
Upload your Media
From the menu, choose the "Media Library" option.
Click on the "Upload File" option to open a file browser from your computer.
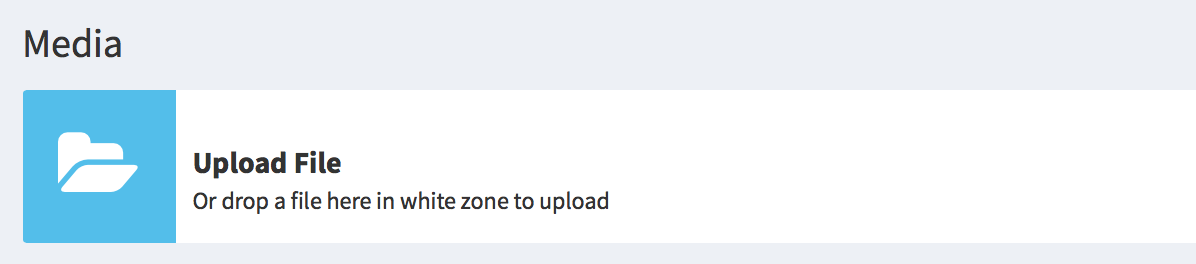
Navigate and select the files you wish to upload, images or videos. Click "OK" and they will appear in the table below once uploaded.
Create Your Signage Layout
From the menu, Choose the "Create Signage" option.
Give your layout a name and select a layout format.
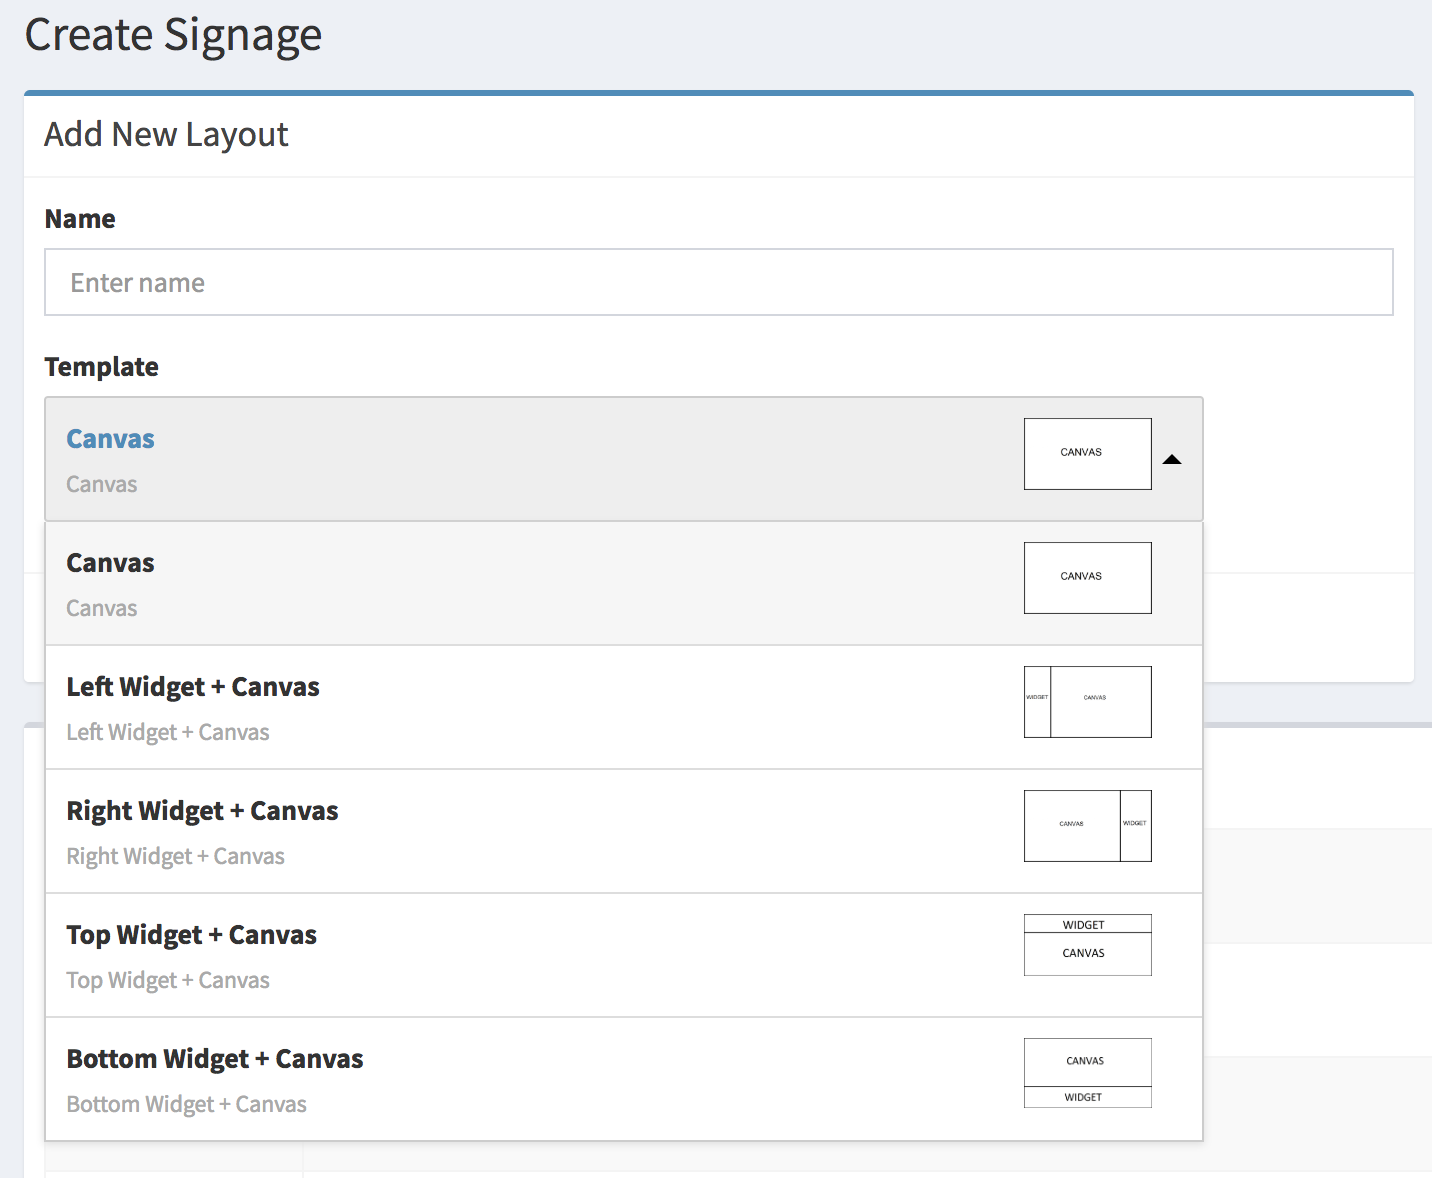
Now, use the toolbar on the right hand side to add images, text, video and widgets (if you selected a layout that supports widgets)

When finished, click the save icon on the right hand side toolbar.
Create a Channel and Deploy your Signage
This is the last step required to deploy your first layout.
From the menu, select "Channel"
Give your Channel a name, select the layout that you just created and then select your device in the drop down menu.
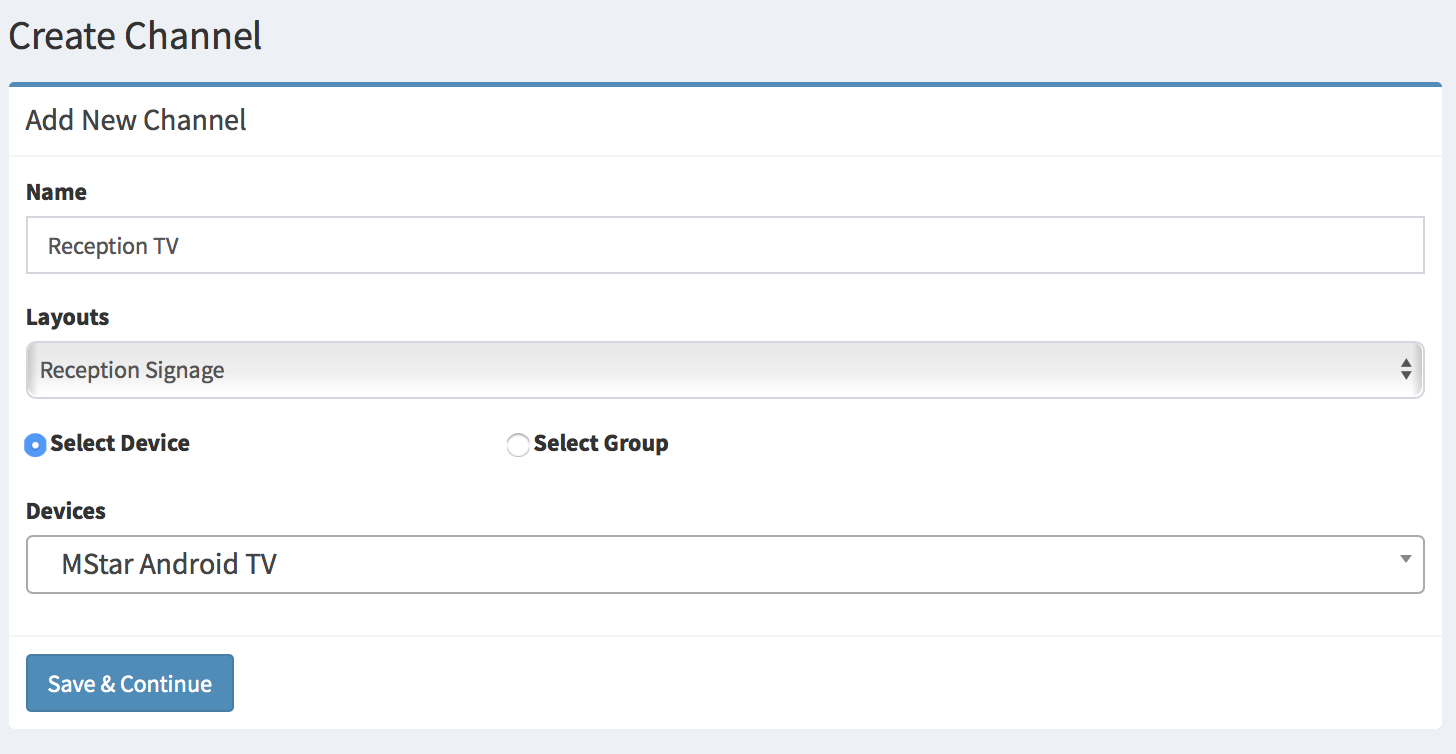
Your Channel will appear in the table below.
To deploy your signage, click on the red button so that it goes green.

Your signage will load on your Signage Playback App.
Form more detailed information on the features, please check out the manual and the video tutorials.